Starlink is a great alternative to LTE in Vancouver. After a year struggling with local providers to get a fixed line internet connection I saw on the Starlink website that my address was finally available to receive the satellite service.
Up until this point we were using LTE with a Teltonika 4G LTE modem. This is still an option, but data is expensive. Around 100GB a month was costing $650.
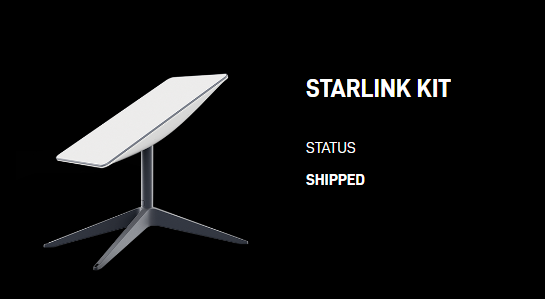
I promptly ordered the Starlink Satellite kit
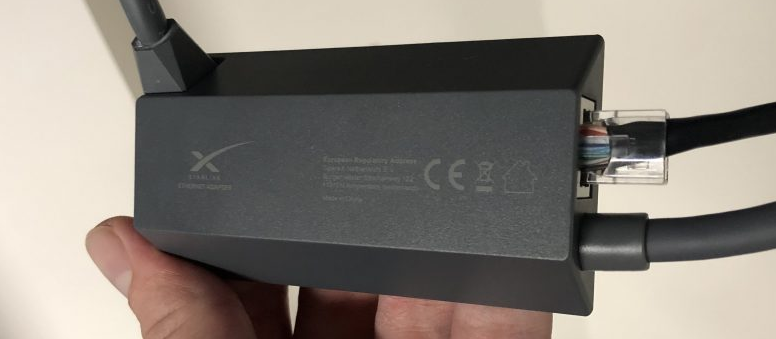
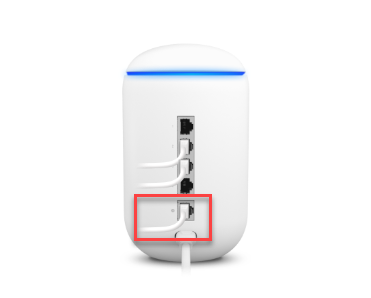
A week later I received the kit, took it to site and installed it. Then I realised it doesn’t have an ethernet port, great. Checking online on the Starlink web store, they do sell ethernet adapters, so all was not lost.

The Ethernet adapter sits inline between the Satellite power/data feed cable and the Modem Router. Dead easy to install, just plug it in.
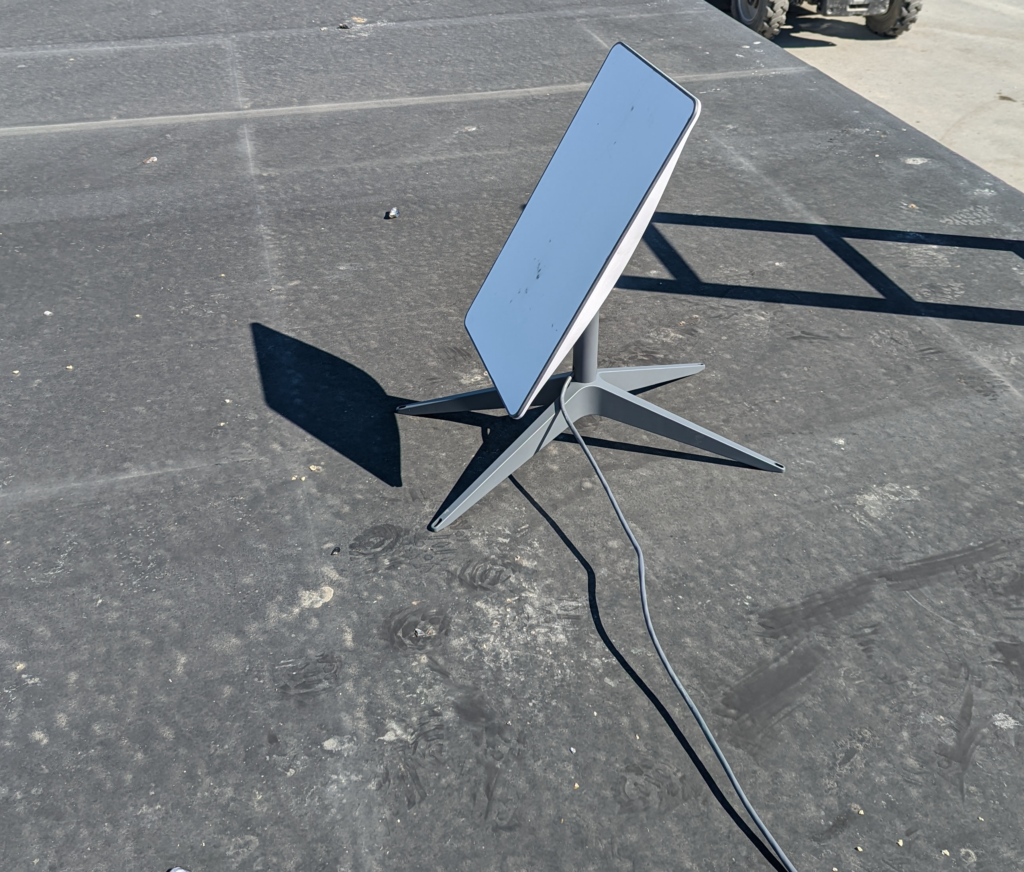
I then mounted the Satellite to the roof. Later on, we affixed it to a mount to keep it from blowing away with the strong winds that the area receives.
Modem Router
Inside the office I set the Router up on the table and let it perform it’s start up.
In the interim, I downloaded the Starlink app (Android / iOS) and logged in.
For a while I was sitting around wondering what the problem was, as I couldn’t see any WiFi network related to Starlink appearing. It had been over 10 minutes, then it dawned on me… Stinky… Stinky was the WiFi name. Typical. The name was so absurd to me for a professional device that it was completely ignored subconciously.
Once I connected to Stinky, logged into my Starlink app, I was good to go and configure it. Step 1, bypass/bridge mode, as I plan on using a Ubiquiti Dream Machine and Unifi Wireless Access Points.
Starlink Bridge Mode (AKA Bypass Mode)
To set up Bridge mode/Bypass mode, follow the below steps.
Please note that if you wish to disable Bridge mode and return to using the Starlink Modem as a Router, you will need to factory reset the device.
- Check Starlink is showing as Online and has Internet Connection
- Ensure that your Modem/Router RJ45 Ethernet adapter is being used
- On your phone, log into the Starlink phone app and navigate to Settings
- Select the option Bypass Starlink WiFi router
- Bypass Mode can alternatively be achieved via a hardwired connection directly to a PC after factory reset (Power cycle 3 times with 2-3 second intervals between), then browsing to 192.168.100.1 . See screenshots below for reference
Ubiquiti Dream Machine
Plug a network cable from the Starlink Modem/Router (Now only a Modem!) Ethernet adapter port directly into the WAN port of your Ubiquiti Dream Machine
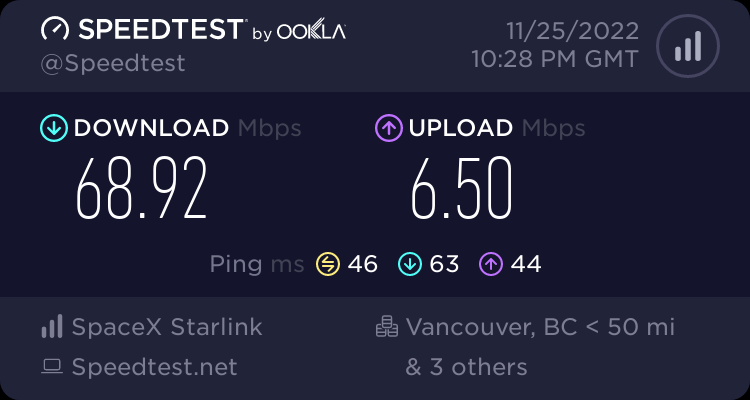
Speedtest
We waited a few days before performing a speedtest, as the setup/calibration period can take some time.
The results after a few days of waiting was a 68.92mbps download and a 6.50mbps upload. Not bad, this site will have around 10-20 users so this will definitely suffice.
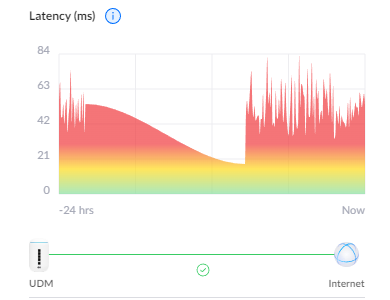
Latency
Looking at the Ubiquiti Management portal, I can see that there hasn’t been a single drop out, however the latency is spiking.